
In this last article about Security and Ransomware, I’m going to add new features and deep dive those you’ve already read in my first article about Veeam Backup & Replication.
The starting point is creating copies of your data (remember the 3-2-1 rule) and from these copies perform automatic tests of availability and security.
Which technology should be deployed to sleep safer?
In this article, I’m going to show you some Veeam technologies that address the threats explaining why they are a must to be used.
Sure-Backup
It is the best way to be certain that a backup is really usable.
What does it mean exactly?
In my public speeches, I often use a pen to explain the Sure-Backup concept correctly.
How can I be sure that the pen is usable? The answer is very easy. If it writes on paper it works and it is usable.
Going back to our scenario, the only way to know if your backup is usable is to perform a restore in an environment logically separate from the production.
How Sure-Backup works?
It is composed of two parts:
The application group identifies the backup VMs that have to be verified.
DataLab is the way through which VMs are switched-on into a specific network that can’t communicate with the production network.
This great technology allows you to add the number zero meaning no errors (from 3-2-1 to 3-2-1-0) to the above rule.
One more important thing to add here is that you can create scripts to random test your backup.
In the following article by Luca Dell’Oca, you can have an excellent example of how scripts can help you.
How can you test 1000 VMs with Veeam SureBackup?
Sure-Replica:
VBR is a solution that allows customers to perform Backup and Replicas of your VMs.
Replicas are commonly deployed to create a Disaster Recovery Site.
Veeam has “integrated” the Sure-Backup technology for Replica too. It is named Sure-Replica and it gives all advantages shown for Sure-Backup
For managing the automation of Replicas I suggest customers use a new Veeam product, the Veeam Availability Orchestrator (VAO).
On this site, you can find a very detailed guide to use set-up VAO.
Veeam Availability Orchestrator – v.3.0 – VAO-Baseline-1
Secure Restore
It scans the saved VM Windows (VM that has at least one valid restore point), with your antivirus software before restoring the VM to the production environment.
Secure Restore is available for the following restore tasks:
- Instant VM Recovery
- Entire VM Restore
- Virtual Disks Restore
The only requirement is that your antivirus has to be installed on the mount server and supports CLI.
Data Integration API
Veeam Data Integration API is a set of Veeam PowerShell cmdlets that allow you to represent data of backup files as a mounted Windows folder.
This feature allows you to access backed-up data in read-only mode.
It has a lot of possible usages to example data mining and data warehouse.
In the field of security, it can be adopted to check if a virus is already present in your VM checking via backup files the guest OS files through your antivirus software (It scans the files of the VMs and not the backup file). A good example of use is in the following blog article by Niels Engelen
V10: Reuse your data with the new Data Integration API
Storage Integration
VBR has two different storage integration.
The primary storage integration allows customers to perform backup more frequently because this technology allows creating backup without impacting the VMware environment.
The integration allows creating a test environment because it is integrated with Datalab and Sure technologies.
The secondary storage integration is commonly used with deduplication appliances that can allow you another layer of security for ransomware.
When the Veeam Data Mover Service is installed directly on the appliance, it reduces the risk of ransomware encrypting and deleting data.
In addition, if for some reason the first data is compromised, copies can be replicated to a second data center or in the cloud.
Before leaving you my two last cents:
1) The starting point is always to perform copies of your data. Veeam gives you powerful tools to manage them and to perform more check to verify that your data are safe from threats.
2) Some customers still think that the backup asset is just a cost because they are used just to restore. With Veeam you can use backup data to perform different actions relieving the production of not business core tasks (for example think the great use of Data API Integration for data mining, data warehouse etc)
Take care guys and see you at soon

 Picture 1
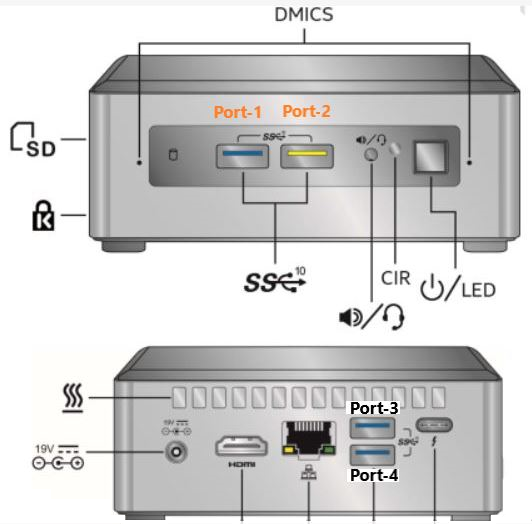
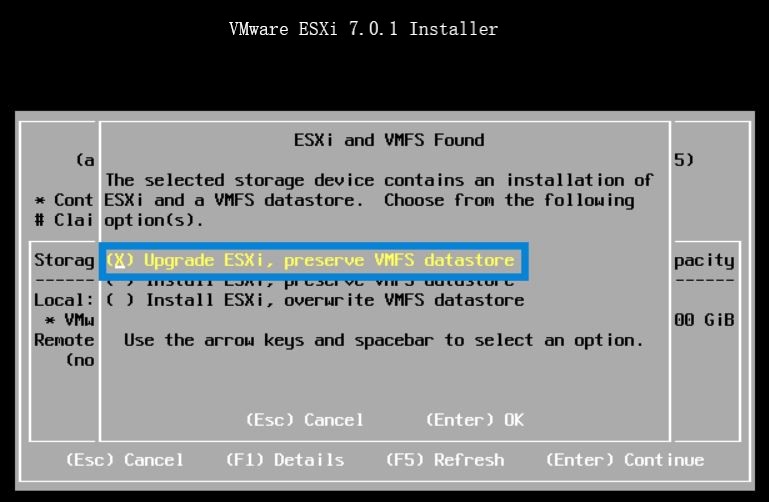
 Last weekend I upgraded all my Servers to the last VMware ESXi release (7.0.1 C) and this article is meant to describe all steps I performed.
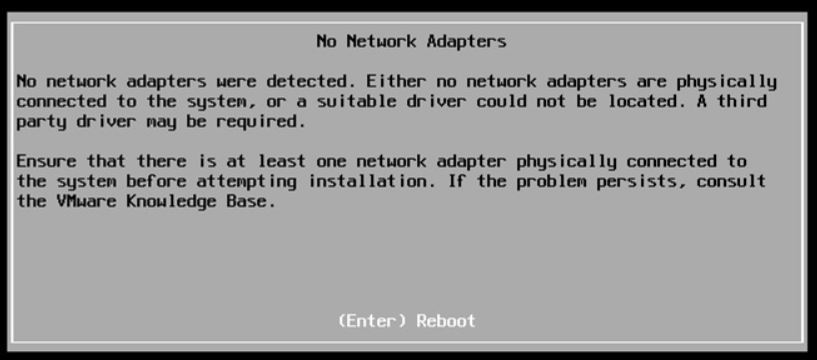 Picture 1
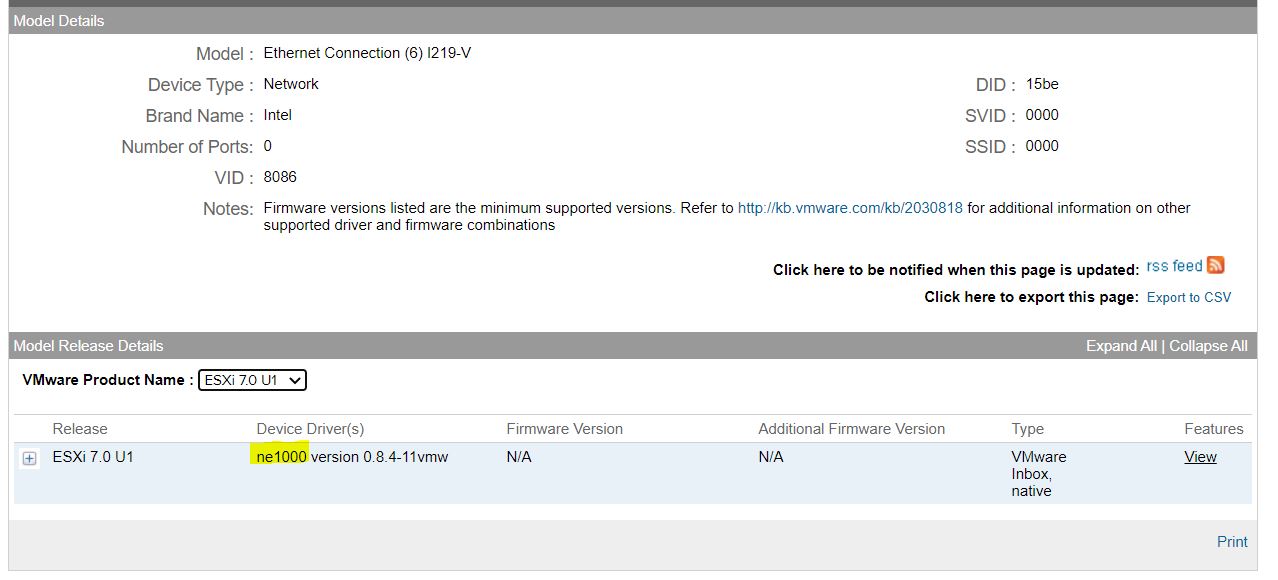 Picture 2
 Picture 1
 Picture 2
 Picture 3